Article summary
Why fence posts fail first and the drainage and installation techniques that stop rot before it starts.
- Category:
- maintenance
- Read time:
- 9 min
- Published:
- 8 December 2025
- Written by:
- My Homes Fencing Expert
Quick answer: fence posts rot first because they sit half in wet ground and half in air, so prevention comes down to the right timber and good drainage — use in-ground-rated H4 posts (H5 for the wettest or coastal sites), stop water pooling around the base, and shape any concrete collar so it sheds water away from the timber rather than holding it against it. Get the post right and the rest of the fence easily outlives it.
In Auckland's damp clay soils, the post is almost always the first thing to go. Here's why, and how to make sure yours last.
Why Posts Fail Before Anything Else
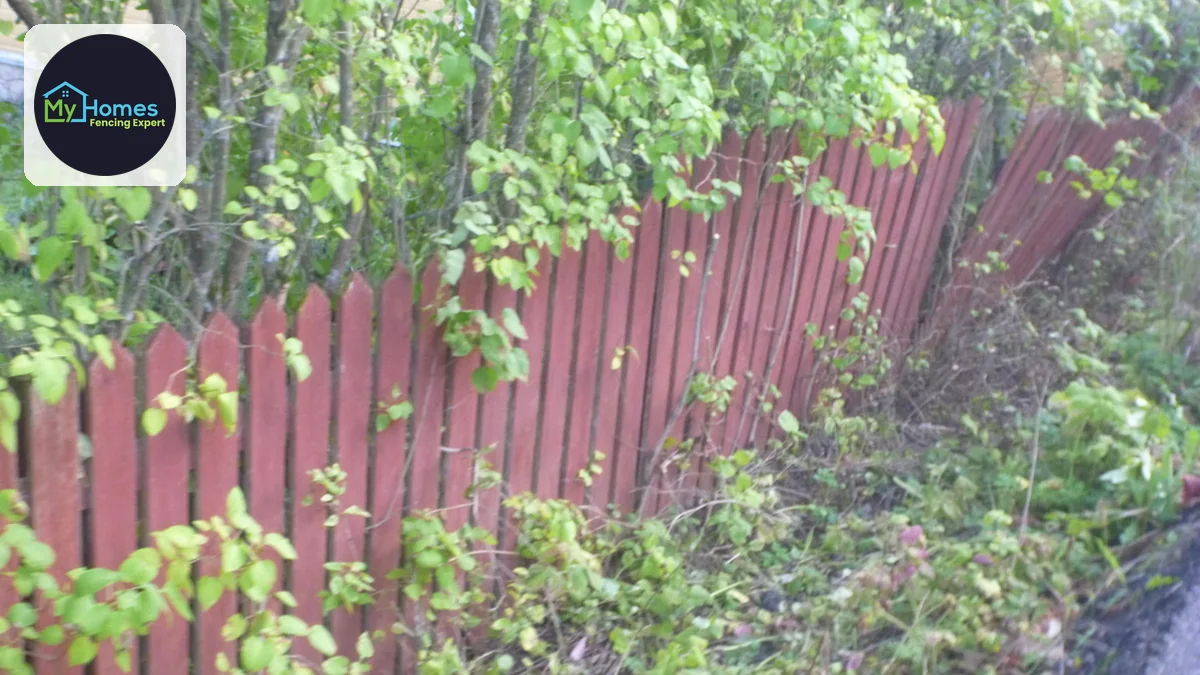
Palings and rails sit up in the air where they dry out between showers, but the post spans the worst possible zone — the point where it passes from wet soil into the air. That ground line stays alternately soaked and damp, which is exactly the condition timber-rotting fungi love, so posts break down there long before the boards above them do.
This is why a fence is only ever as good as its posts. You can replace a cracked paling in minutes, but a rotten post means digging out concrete and re-setting — so it pays to get the post specification and installation right the first time.
H4, H5, and the Cut You Make on Site
In-ground fence posts should be H4-treated as a minimum — that's the hazard class specifically rated for timber in ground contact. For very wet, poorly drained or coastal sites, step up to H5. Ordinary H3.2 timber is fine for rails and palings above ground but is not rated for burial, and a fence built with H3.2 posts is on a countdown from the day it goes in.
The detail that catches out even careful DIY builds is the cut. Treatment penetrates from the outside in, and the core of a treated post is far less protected than its surface. The moment you cut a post to length, you expose that core — and if the cut end goes into the ground, you have buried the least protected part of the timber in the wettest place available.
The fix is simple and takes seconds: cut posts so the factory end goes down where you can, and seal any site-made cut with a proprietary end-seal preservative before it goes in the hole. Most people skip this. A meaningful share of early post failures start exactly there.
The Hole: Depth, Width and What Sits at the Bottom
A post hole has two jobs — hold the post upright against wind load, and let water get away from the timber. Depth and width handle the first; what you put at the bottom handles the second. Get one right and ignore the other and you end up with a fence that stands firm for fifteen years and then falls over because the post rotted through at the base.
Depth is driven by the fence height and how solid it is. A tall, fully close-boarded fence is a sail and needs more embedment than an open post-and-rail. As a rule of thumb, more of the post goes in the ground than most people expect, and a fence that leans within a few years almost always went in too shallow rather than being built with the wrong timber.
At the bottom, a layer of drainage metal or coarse gravel under the post gives water somewhere to go instead of collecting in the base of the hole. It is a small amount of material and a small amount of work, and on Auckland's clay it is one of the highest-value things you can do for post life.
Concrete That Sheds Water Instead of Holding It
Concrete gives the post its resistance to leaning, and it is the right way to set a boundary fence post. But concrete finished badly is a liability, because a collar that is flat or dished at the top becomes a small reservoir holding water directly against the timber every time it rains.
The finish should be crowned — sloped away from the post on all sides so water runs off and away. It takes an extra thirty seconds per post with a trowel. Done across a whole fence it removes a permanent water source from every single post, which over twenty years is not a marginal difference.
The other concrete mistake is encasing the post completely with concrete sealing over the bottom of the hole. That turns the hole into a sealed container: water gets in past the timber, and then has nowhere to drain. Drainage under the post and a crowned collar above it is the combination that works.
Auckland Clay and the Bucket Problem
Much of Auckland sits on heavy clay, and clay drains slowly. Dig a hole in it, backfill around a post, and you have effectively made a container of permeable material inside impermeable ground. Water runs in from the surface, then sits — sometimes for days after rain has stopped.
This is why identical fences perform so differently across the city. A post in free-draining volcanic soil in a well-drained suburb has an easy life. The same post in a low-lying clay section that stays soft through winter is standing in water for a large part of the year, and the ground line rot clock runs much faster.
On sites like that, drainage at install time is not optional detailing, it is the main event: drainage metal under the post, a crowned collar, and where the ground is genuinely wet, a plan to direct surface runoff away from the fence line rather than along it.
Habits That Add Years for Free
Once the fence is in, the enemy is anything that keeps the base wet. The most common culprit is soil level. Garden beds get topped up, mulch gets added, a path gets built up, and gradually the ground climbs the post and buries part of the fence that was never designed to be buried. Keep soil and mulch clear of the timber rather than banked against it.
The second culprit is discharged water. A downpipe emptying next to a post, an overflowing spouting running down a boundary, or a driveway shedding water along the fence line will each shorten post life dramatically in one specific spot. If your fence has one post that has gone and the rest are fine, look up — there is usually a reason directly above it.
The third is debris. Leaves, clippings and general build-up trapped at the base hold moisture against the timber and stop it drying between showers. Clearing the fence line occasionally is a ten-minute job that pays for itself many times over.
Spotting a Post That's Already Going
Rot at the ground line is hidden by definition, so waiting for a visible sign means waiting too long. The reliable test is physical: push firmly against the post at chest height and watch the base. A sound post transmits the movement into the ground. A rotting one pivots at the soil line, and you will often see the ground move around it.
The second test is a screwdriver. Press the tip into the timber right at ground level and just below. Sound treated timber resists. Timber that is going soft takes the tip easily, and if it goes in a long way with light pressure, that post is at or past the end of its life regardless of how the fence looks from a distance.
One or two failing posts in an otherwise sound fence is a repair, not a rebuild. Left alone they load the neighbouring bays, rails start to sag, and what would have been a straightforward post replacement becomes a much larger job.
Getting Posts Right the First Time
Almost everything above costs very little at install time and is expensive or impossible to add later. End-sealing a cut, putting drainage metal under a post, crowning a concrete collar, setting deep enough for the fence height — none of it is exotic, and together it is most of the difference between a fence that lasts and one that doesn't.
If you already have soft posts, get them assessed before winter rather than after. Replacing a post while the rails and palings are still sound is a contained job. Replacing it after the fence has started to lean and the rails have pulled is a different quote entirely.
My Homes Fencing Expert installs and repairs fence posts across Auckland, including on the clay and low-lying sites where drainage decides everything. Call 022 315 8987 or book a free, no-obligation assessment.
Frequently Asked Questions
H4 is the minimum for posts in ground contact, and H5 is better for very wet, poorly drained or coastal sites. H3.2 is only rated for above-ground use like rails and palings, so a fence built with H3.2 posts is on a countdown from day one.
Both, in different places. Concrete around the post gives resistance to leaning; drainage metal or coarse gravel under the post gives water somewhere to go. Concrete sealing the bottom of the hole is the mistake — it turns the hole into a container.
Yes. Treatment penetrates from the outside in, so a site-made cut exposes the least protected timber in the post. Burying that cut end untreated is one of the most common causes of early failure. Seal it with an end-seal preservative, or put the factory end down.
Almost always a localised water source. Look directly above and beside it for a downpipe, an overflowing spouting, a path or driveway shedding water along the fence line, or a garden bed that has been topped up and buried the base of the post.
Push firmly on the post at chest height and watch the base — a rotting post pivots at the soil line while a sound one transmits movement into the ground. Then press a screwdriver into the timber right at ground level; if it sinks in easily, the post is at the end of its life.
Well beyond the life of the palings it supports, when the treatment class is right, cuts are sealed, water drains away from the base and soil isn't banked against it. Post life in Auckland is decided far more by drainage than by the timber itself.
Usually yes, and it is much cheaper to do it early. While the rails and palings are still sound, a post replacement is a contained job. Once the fence has leaned and the rails have pulled at the fixings, the repair grows into neighbouring bays.
Ready to start your fencing project?
Get a free, no-obligation quote anywhere in Auckland.
Get a Free QuoteRelated fencing services