
Article summary
Step-by-step advice on choosing, applying, and maintaining stain to protect and beautify your timber fence.
- Category:
- maintenance
- Read time:
- 3 min
- Published:
- 4 January 2026
- Written by:
- My Homes Fencing Expert
Quick answer: staining a fence well comes down to clean, dry timber, the right product, and good timing. Wash and fully dry the fence, choose a quality exterior timber stain (oil-based penetrating stains are popular for fences and easy to recoat), apply on a dry, mild day working top-to-bottom and into the end grain, and plan to re-coat every two to four years. Prep and timing matter more than brand.
Stain protects timber from UV and moisture while giving it colour, so it's the single best thing you can do for a timber fence's looks and lifespan. Here's the complete how-to.

Choosing the Right Stain
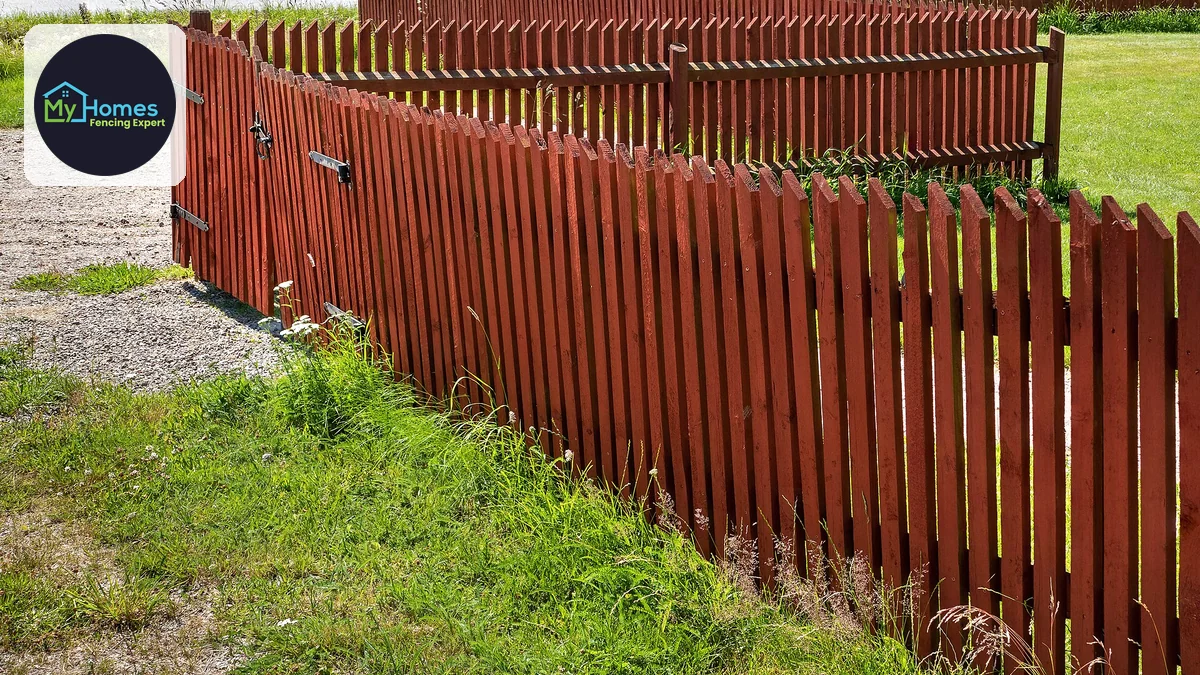
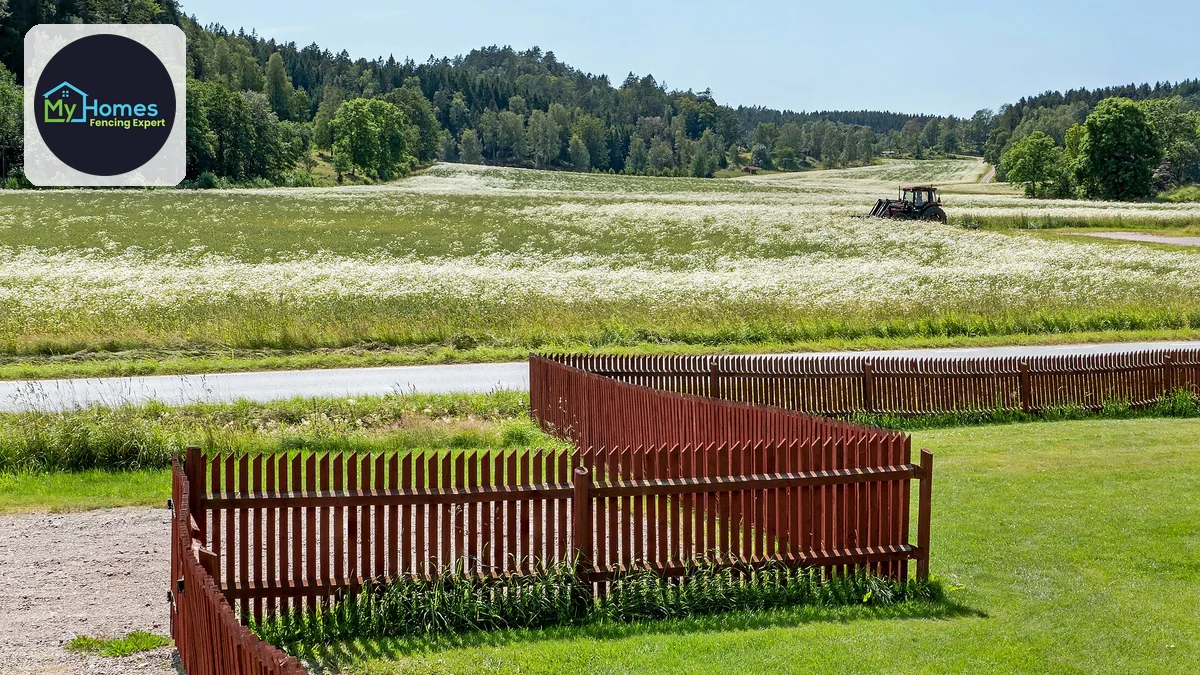
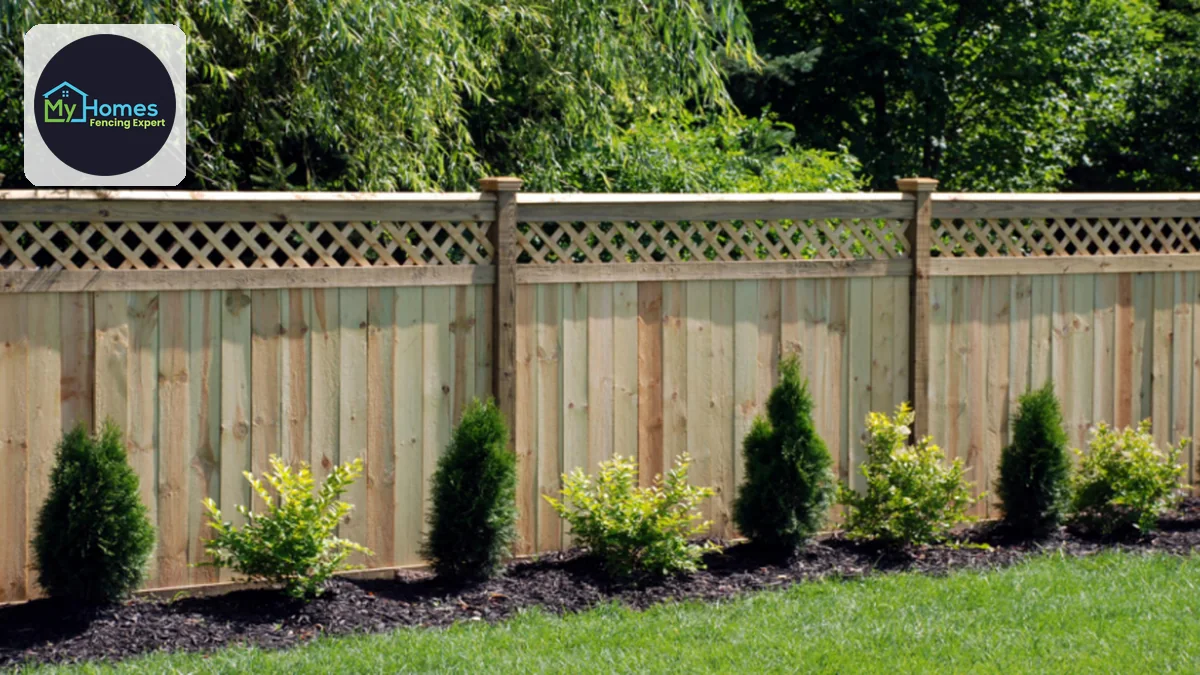
For fences, penetrating oil-based stains are a popular choice because they soak into the timber, protect from within, and are easy to refresh later without heavy stripping. Water-based stains are lower-odour and quick-drying alternatives. You'll also choose an opacity: a transparent or semi-transparent stain lets the timber grain show through, while a solid stain gives full colour coverage closer to paint. Darker tones like charcoal and black are on-trend and also help hide weathering.
Whatever you pick, use a product made specifically for exterior timber with UV and moisture protection, and buy enough to do the whole fence in one batch so the colour stays consistent from end to end.
Prep and Application, Step by Step
Prep is where the job is won. Wash off dirt, mould and lichen, scrape or sand back any flaking old finish, and let the timber dry thoroughly — staining over damp timber traps moisture and leads to peeling. On brand-new timber, check whether it needs a short weathering period before it will take a stain properly.
To apply, work on a dry, mild day (not blazing midday sun, not with rain due for 24 hours). Go from the top down so you catch drips, brush in the direction of the grain, and pay particular attention to the end grain, paling tops and joints where water attacks first. Two thinner coats generally give a more even, longer-lasting result than one heavy coat.
Keeping It Looking Good — and Mistakes to Avoid
A stained fence should be re-coated every two to four years depending on exposure, with sun-facing north and west runs needing it soonest. The tell-tale sign it's due is when water stops beading on the surface and the colour looks flat and grey. Refreshing a penetrating stain is straightforward — clean, dry, and re-coat.
The common mistakes are all avoidable: staining over damp or dirty timber, working in the wrong weather, applying too thick, missing the end grain, and leaving it too long between coats so the surface breaks down. Get the basics right and a quality stain keeps a timber fence protected and looking sharp for years.
Frequently Asked Questions
Every two to four years in Auckland, sooner for sun-exposed north- and west-facing runs. A good sign it's due is when water no longer beads on the surface and the colour has gone flat and grey.
Penetrating oil-based exterior stains are popular for fences — they soak in, protect from within, and are easy to refresh later. Choose the opacity you want (transparent to show grain, or solid for full colour) and a product made for exterior timber with UV protection.
You can re-coat a penetrating stain after cleaning and drying the timber. Over flaking old paint or a solid coating, you'll need to scrape or sand back the loose material first — staining over a damp or peeling surface just leads to more peeling.
Ready to start your fencing project?
Get a free, no-obligation quote anywhere in Auckland.
Get a Free QuoteRelated fencing services